Download & Install Plugin #
To install Productbot on WordPress, first start by downloading the WordPress plugin from your woocommerce account or from the link you received when you made your purchase. After download is complete, log into your WordPress site and click “Add New” under the Plugins section. Upload the plugin zip file and activate it accordingly. Once activated, you can start using Productbot for your WordPress site.

Dashboard #
Once the plugin is installed and activated, you will find the productbot recommendations plugin’s menu option to the left as seen below. Once you click on the main menu link it will open up the dashboard where you can view the plugin’s menu plus click and sales stats.


Generate OpenAI API Key #
In the settings section of the plugin you will be able to tweak the algorithm to work on your favor. The first thing you want to do is generate an API key from OpenAI so that you can use artificial intelligence on the extension. Here are the instructions on how to get your API key:
To get your own OpenAI API key, follow the steps below:
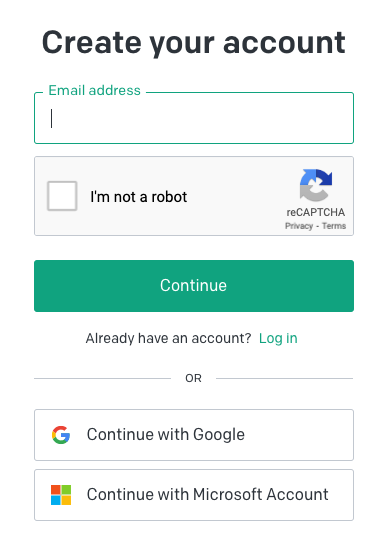
- Step1: Create an account at https://platform.openai.com/signup you can signup with your Google account, email, or Microsoft account.
- Step2: Once you’ve signed up, go to https://platform.openai.com/account/api-keys
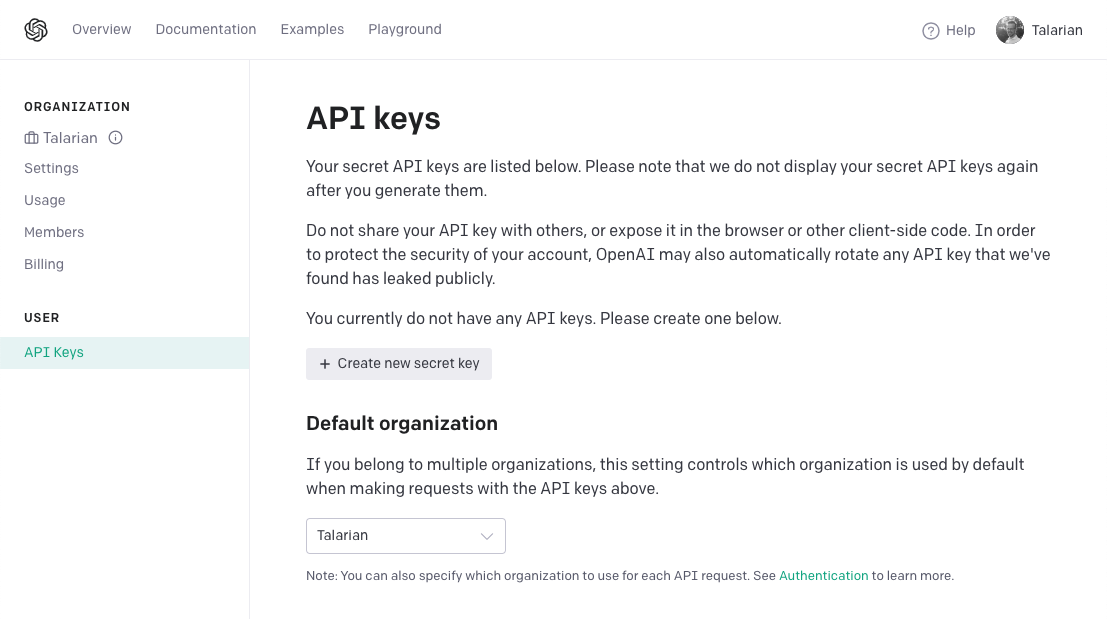
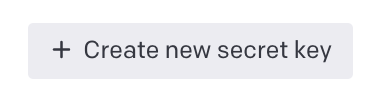
- Step 3: Click Create new secret key
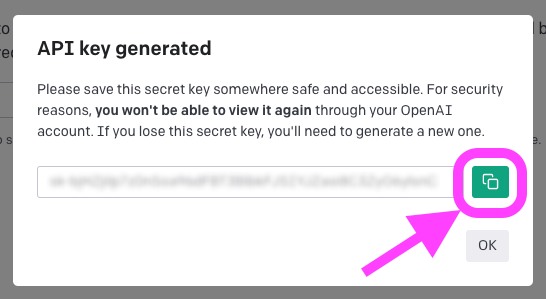
- Step 4: Copy your key to your clipboard
Set up billing #
OpenAI charges for use of its API on a usage basis, so, if you haven’t already set up a payment method for billing, you’ll need to do so. Otherwise, the API Key you just created won’t work.
To set up billing, click Billing on the left menu then click Payment methods.

Next, you’ll see the payment methods screen. Click Add payment method.

A box will pop up where you can enter your credit card and billing details. Click Submit once you’ve entered your information.

Set usage limits #
Now you’ve set up billing, it makes sense to set usage limits so you can control how much you spend each month on the API.
Simply click Usage limits on the left menu, then enter figures for hard and soft usage limits. Then click Save.

Ensure you follow OpenAI’s usage guidelines #
As a final note, be sure to familiarize yourself with OpenAI’s use case policy and terms of use. These rules help to ensure that the technology is used responsibly.
And there you go! You’re all set to start using OpenAI’s powerful machine learning services. Remember to keep your API key secure.
AI Settings #


Most of the options are self explanatory but we will break it down futher:
- OpenAI Key: Insert the OpenAI key generated by following the steps above in this documentation
- Recommendation Type: The productbot extension saves product categories (or tags) according to the products visited. It then shows the product recommendations according to these settings. We recommend leaving categories as default.
- Browser Cookies: In this section you can set the cookie time expiry (in seconds) for the user. Default: 2629743 (2629743 seconds = 1 month)
- ID Limit: Number of categories / tags to save. If you increase the number, the similarity of the recommended products decreases. Default: 10 (Recommended between 5-20)
- Purchased products: Turn this on if you want to display similar products based on user’s previous purchases
- Products in Cart: Turn this on if you want to display similar products based on user’s previous products added to their cart.
Display Options #


In the display options section of the extension you can choose how and where to display recommendations. You can display them as grid or as a carousel slider (pro only). Here’s a break down of all the options:
- Display Layout: You can choose to display recommendations either as a product grid or product slider. If you choose the slider, the following options will appear: 1. enable loop slider, it means if you want the slider to loop automatically once it reaches the maximum number of products specified. 2. Number of products to show per page, in this option you can choose how many products to display depending on screen size including pc, tablet, and phones.
- Total number of products to show: Simple, choose how many products in total you want to display either in the slider or the grid.
- Title Alignment: Choose whether to align the title left, center, or right. The title refers to the default “Recommended Products” title above the recommended products grid or slider.
- Title Color: As stated above, use this option to change the title color to match your theme.
- Hide out of stock products: Do not recommend products that are out of stock.
- Hide Related Products: By default, Woocommerce displays related products, this option allows you to deactivate this feature without having to add any code.
- Choose Display Location: This option allows you to choose where exactly you want to display your AI recommendations. If you want to do A/B testing you can test one location at a time to see which one provides the best results and adjust your campaigns accordingly.
- Show user ratings on Product Recommendations: Activate this option if you would like to display the star ratings in the ai recommendations.
Generate Shortcode #

If you would like to display the recommendations on other locations besides the default ones, you can do so by inserting a shortcode inside a simple html element. To generate a shortcode simply scroll all the way to the bottom of the display options section, choose your display options, than click on the “Create Shortcode” button as seen in the above screenshot. Once the shortcode is generated simply copy it and paste it on any page or post and all ai recommendations will appear automatically.


